Illustrator lettering process
A while ago I took this comic book lettering course by John Roshell, over at Lynda.com. It’s a fantastic course and I recommend this to anyone interested in lettering their own comic books or graphic novels.
Amongst many of the valuable insights, one which stayed with me long after taking this course is the process of speech ballooning. It occurred to me that this wasn’t documented anywhere else on the internet (that I’ve found anyway), so I thought I’d document it here.
The speech balloons
Here is what I’m talking about…
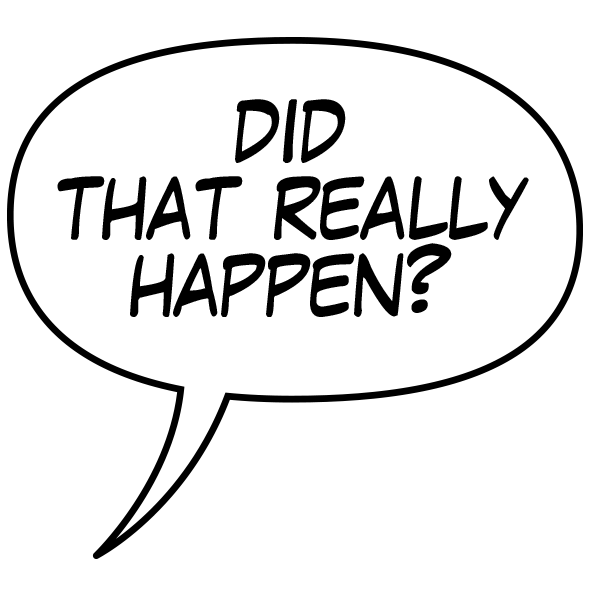
Looks pretty straight forward right? Here are the steps you’d normally take if you were doing it the “classic” way:
1. Create an ellipse

Square it off using the anchor points, give it a white fill and a stroke that’s appropriate for your book.
2. Add your text
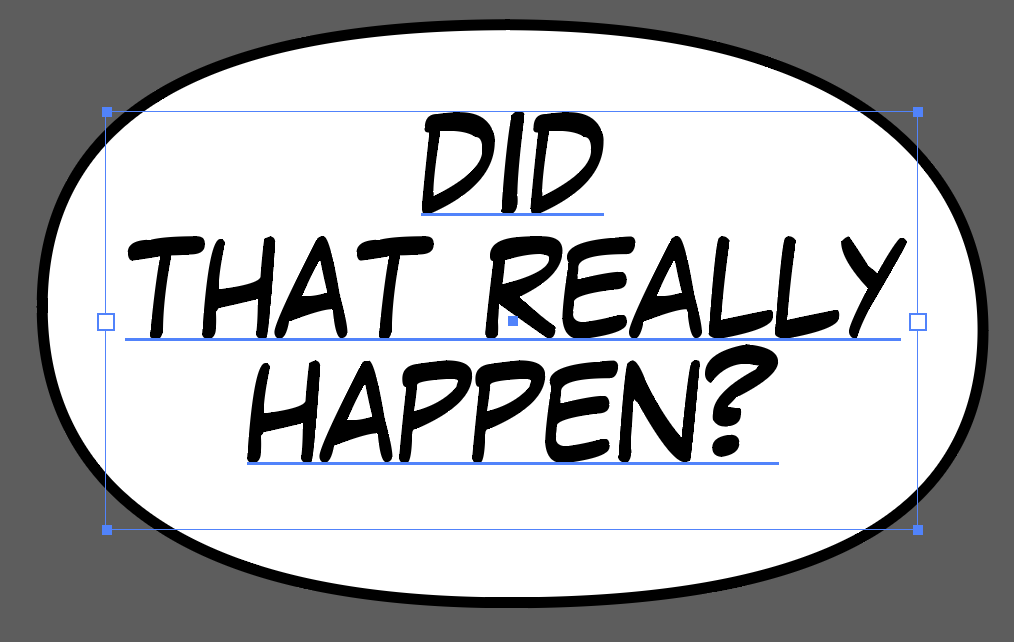
You’ll need to resize your ellipse accordingly.
3. Add your tail

Draw your tail with the pen tool.
4. Merge the shapes together
To do that, you’ll need to select only the ellipse and the tail, then with the pathfinder (Window > Pathfinder), you need to select “Unite”:

After uniting, you’ll get you’ll get your final word balloon:
The problem with this last step
While this method works and seemingly very popular, there are some drawbacks with this method. Notably, once united, the word balloon is a single shape.
If you wanted to update the words in the balloon, it’s difficult and you may need to recreate the balloon almost from scratch. Also, with this method you’ll pretty much need to create balloons each time.
It’d be great to be able to retain the separate shapes, yet still have the balloon properly formed as above, so you’re able to edit this later.
The following approach does just that!
First, here’s the basic concept:

Taking these one by one…
You have an ellipse as before, but this time there’s no stroke on this.
The tail, which has the stroke and the fill on it, as per usual
A duplicate of the bubble from point 1. this time with the stroke (you either want to make this extra thick or apply the stroke to only the outside of the shape)
The idea is that you have these three parts either arranged in this order or on separate layers. So the top layer would contain balloon from 1., the bottom layer contains the balloon from 3., and the tail is sandwiched inbetween.
What you have in the end is something like this:

See? All the shapes are separate, and thus totally editable.
If you want to resize the balloon, just make sure you select the shapes from both 1. and 3. only and resize away! As long as you select points from both the ellipse layers, you’ll find that the stroke remains consistent.
You can even take multiple balloons and merge them together like this:
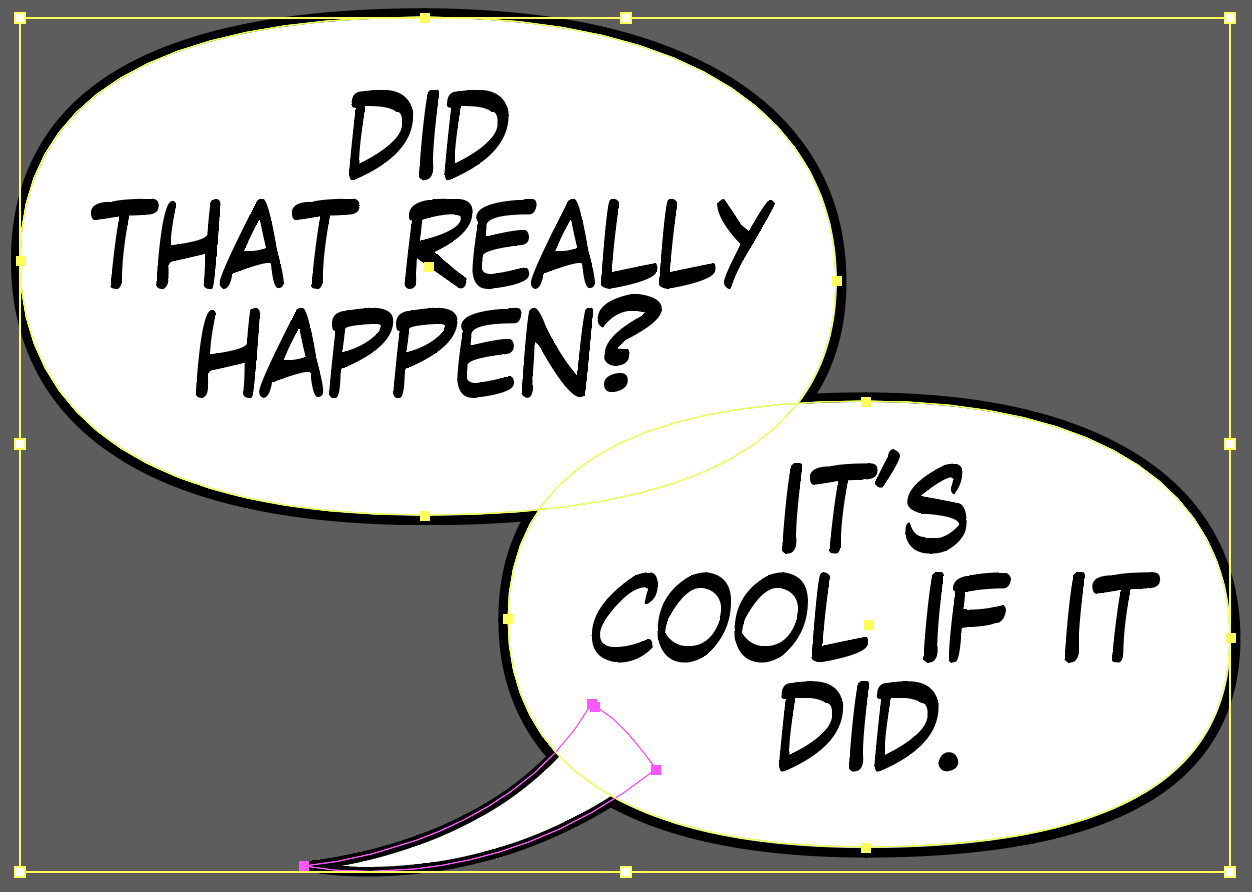
All the objects above are separate, so each are editable.
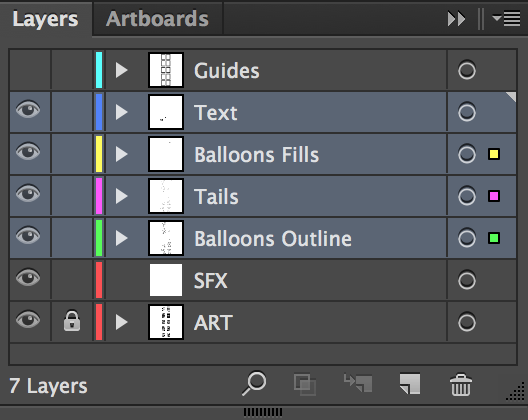
Layers or arranged objects
You can either have 1., 2., and 3. on separate layers or you can have them all on the same layer and arrange them in the order you need. What you choose is up to you. One advantage of using separate layers is that you don’t need to keep arranging
Here are the layers I use:
I hope you found this article useful. If you did, then please consider following me on twitter or tumblr and drop me a message. If I’ve got anything wrong, or if you have a better alternative to improve my process, then please also let me know!
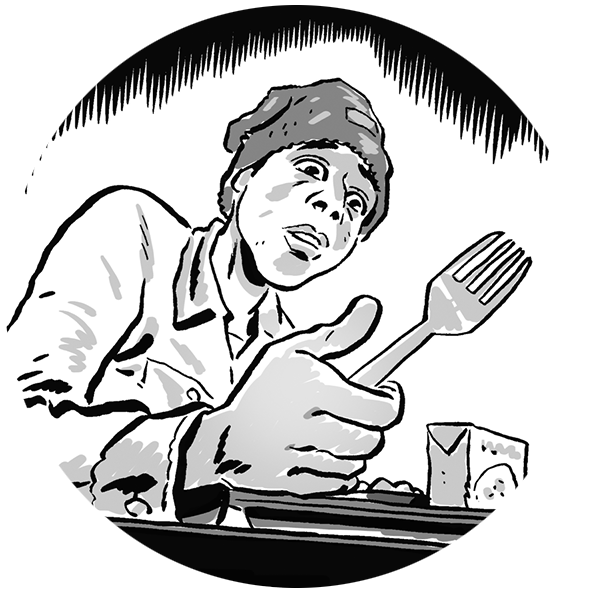
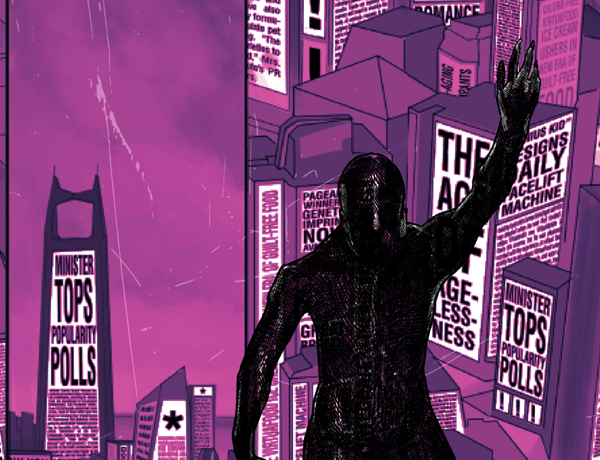
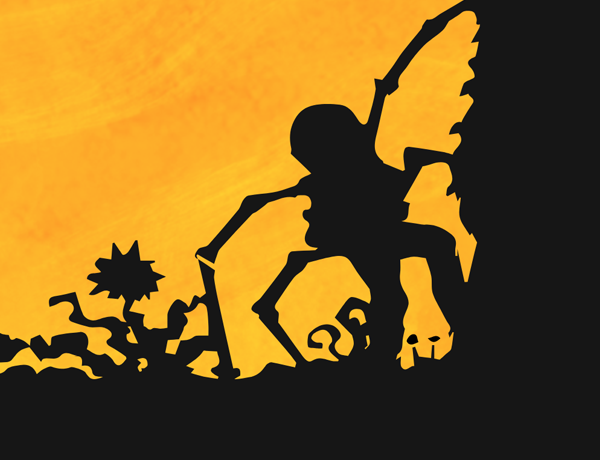
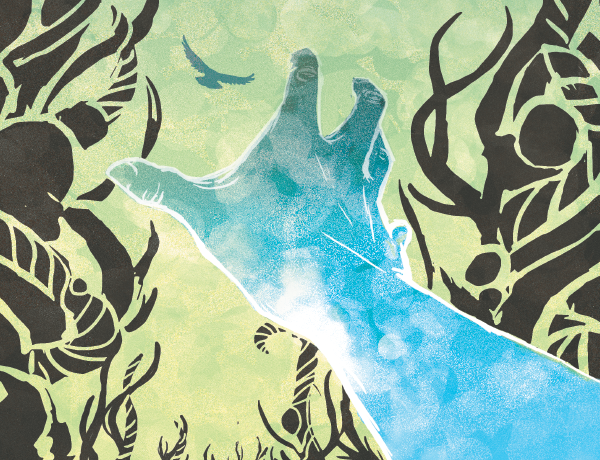
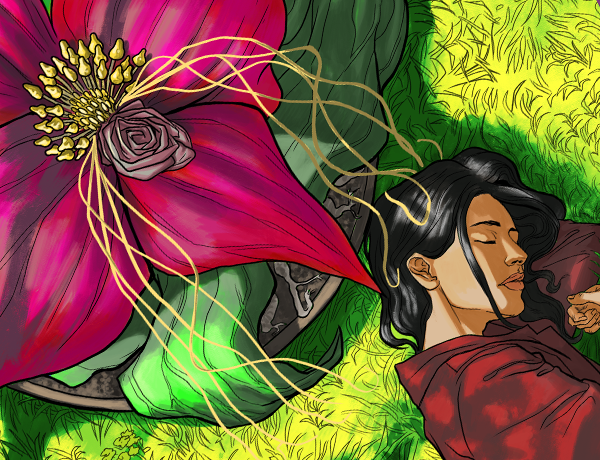
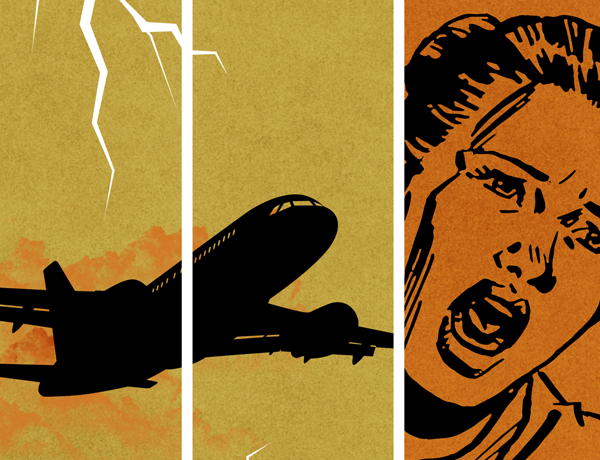
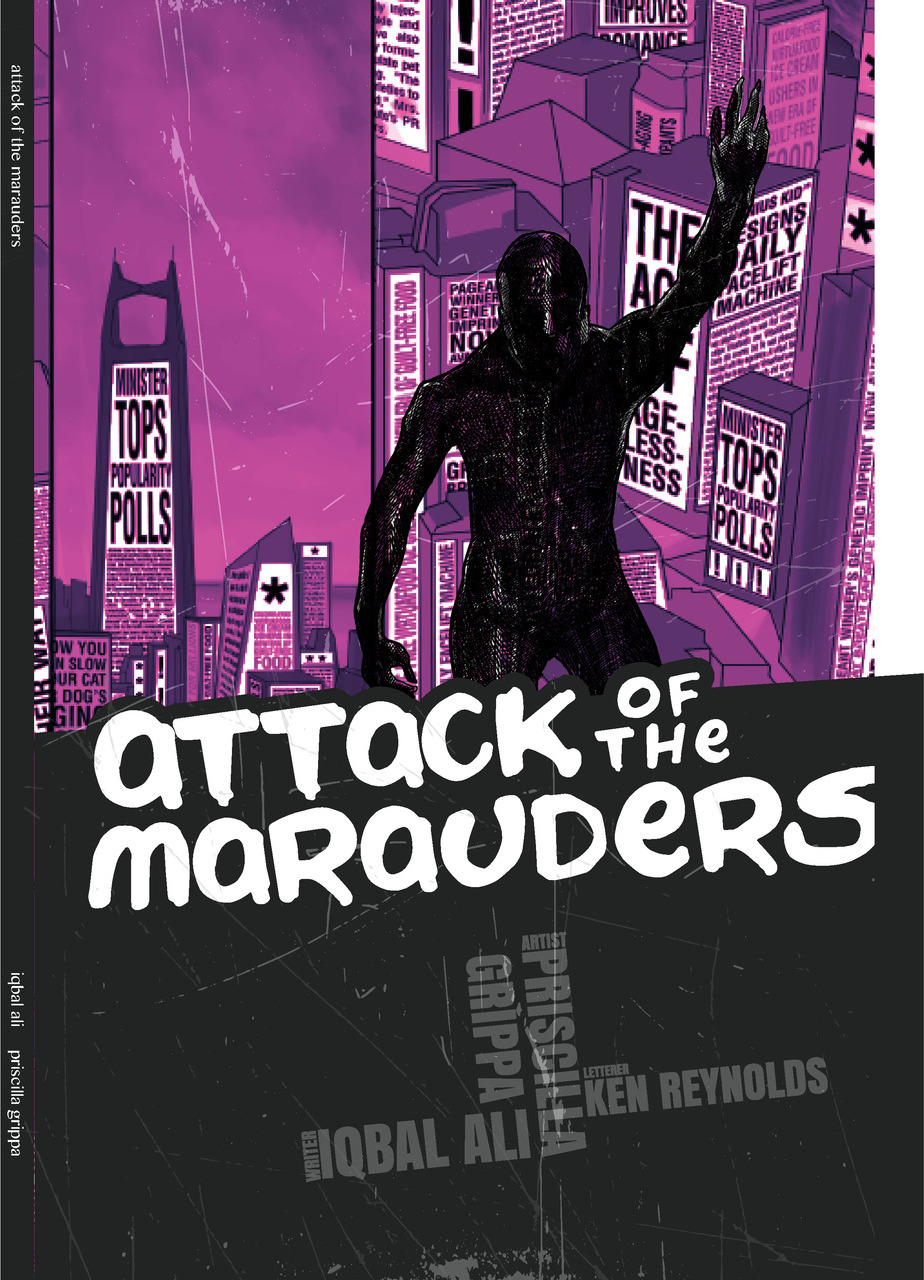
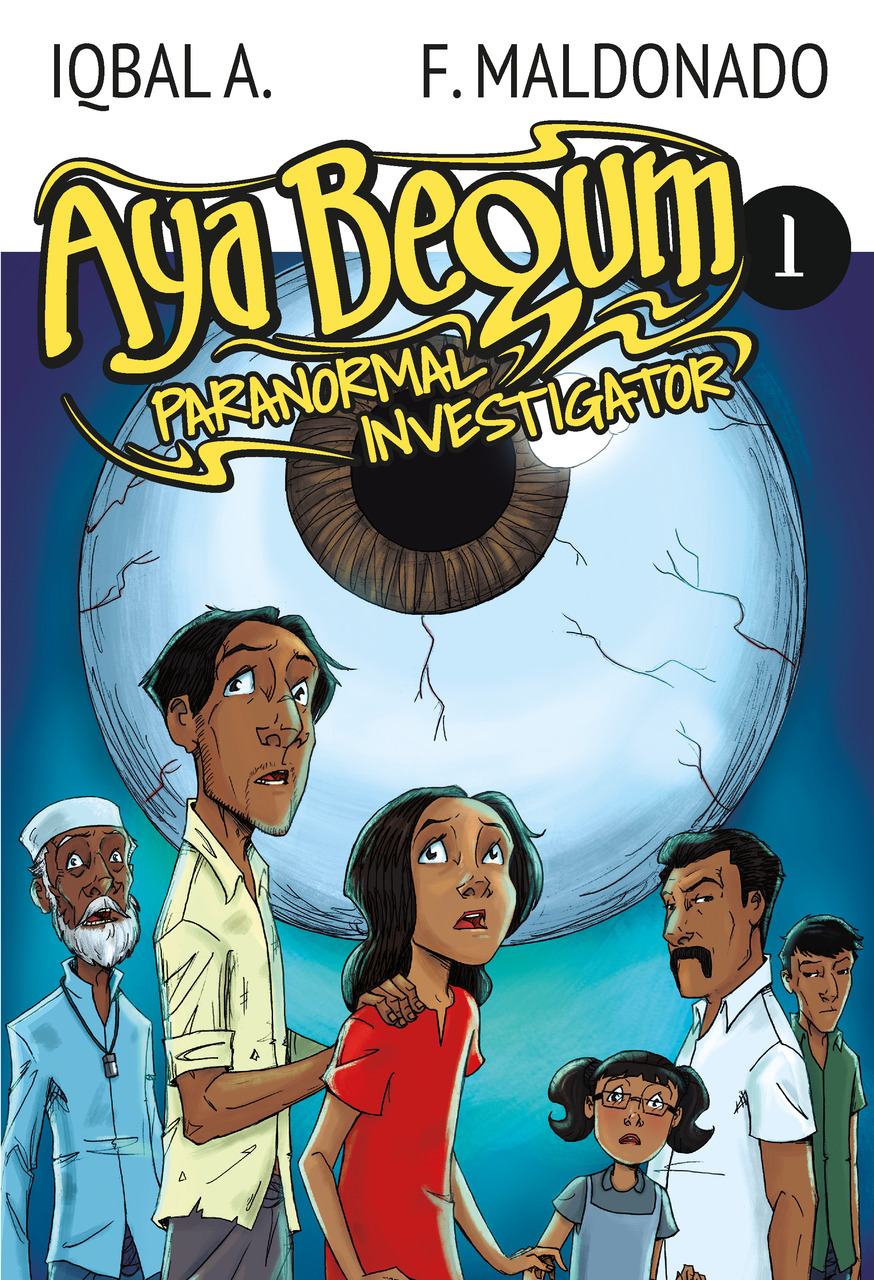
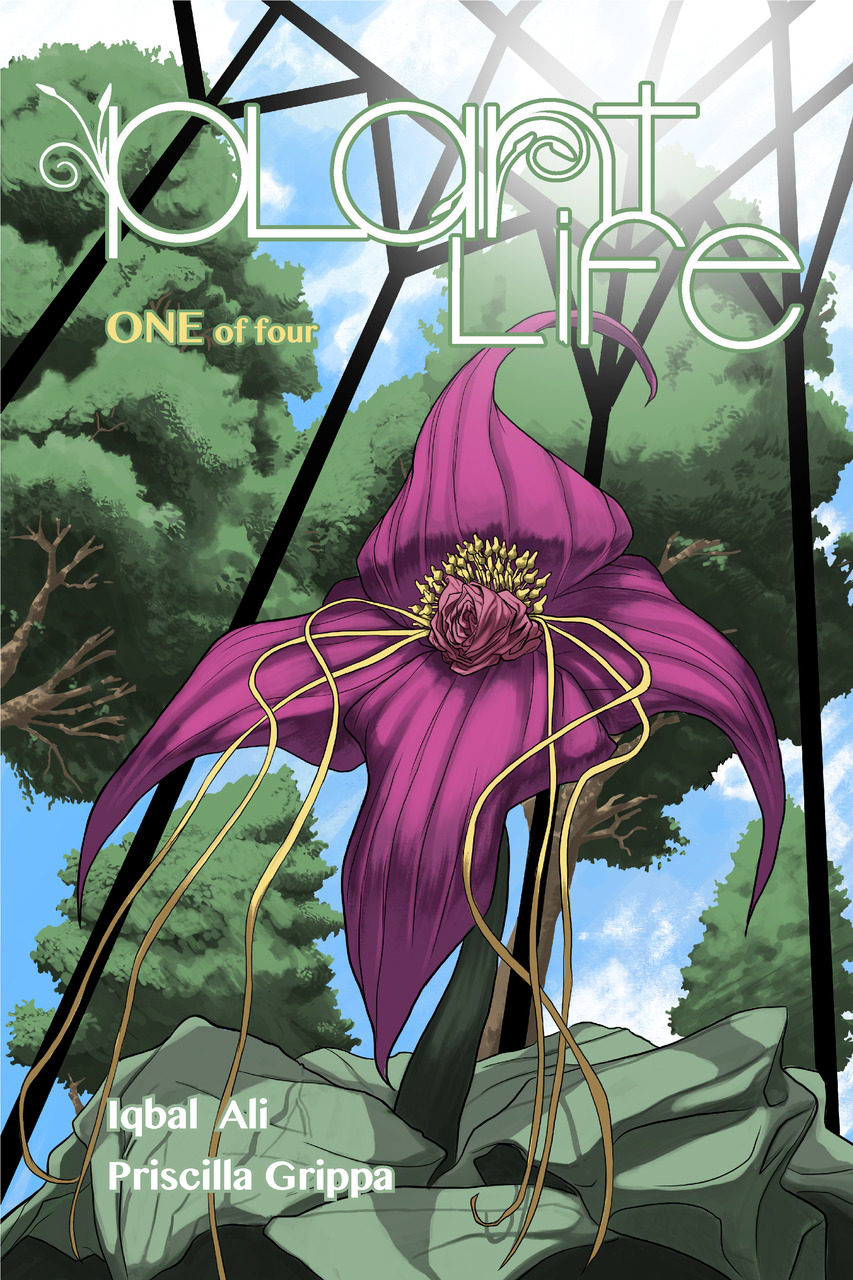
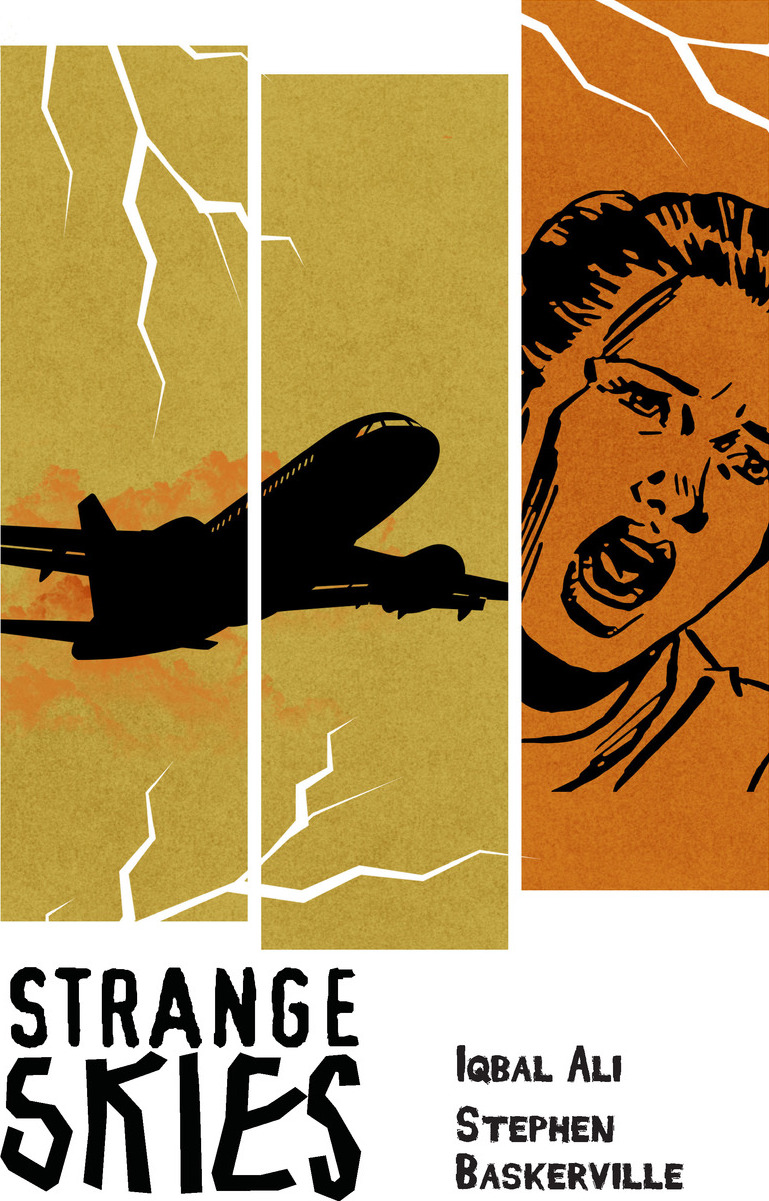
I’m Iqbal Ali, I write comics among other things. You can check out my work on midlfrenzy.com. My Amazon page can be found here.

Comments