This guide continues from my last post, which detailed how to set up your pages ready for printing through CreateSpace. If you haven’t read that article yet, I recommend that you do as this post continues directly from that one.
A quick recap of that previous article…
I established that I want to publish to CreateSpace and the final book dimensions will be 7 inches x 10 inches. I shared my template with you and had images which could resized to 7 inches x 10.565 inches.
In this article, I’ll describe my process for getting the final pages ready for production and how to create PDFs that CreateSpace won’t reject.
Here comes Illustrator
I use Illustrator for lettering my comics. However, there are alternatives available. For example, there’s Affinity Designer which is an awesome application, though it just falls short for my process (I have a very particular process where steps are automated by scripts).
You could also letter in Photoshop or Clip Studio or any other application that you’re comfortable lettering in. It really doesn’t matter.
Anyway, this is about my process and I personally letter and produce in Illustrator, and start with a artboards sized to 7 inches x 10.25 inches. I’ll tell you why this needs to be specifically this size in a moment. But first I wanted to finish my tour of my Illustrator process.
You see, I place my 7 inches x 10.565 inches image onto each artboard. I make sure the image fits on the board perfectly in terms of the width. In terms of the height, I’ll be losing parts of the top and the bottom of image outside the board. These are the blue shaded areas I described in the last post.
Losing those parts of the image is not a problem. Remember, that why we artwork with the extra bleed in mind. All the final lettering is done with a keen awareness as to where the “Live area” of the page is (you really do need to read my last article if you have no idea what I’m talking about).
Back to CreateSpace
So why 7 inches x 10.25 inches when the final printed book will be 7 inches x 10 inches? Well, because we want our artwork to bleed to the edges, and the CreateSpace’s page on the subject tells us the following:
If you want your images to bleed to the edges of your book, ensure that they extend at least .125" beyond the final trim size from the top, bottom and outer edges and submit your PDF .25" higher and .125" wider than your selected trim size to accommodate the full bleed area.
If you’re like me, the first time you read that, it made little sense. The following image should make visualising what they’re saying a little easier:

The above image shows a double page spread and is not to any sort of scale. The left is an “even” numbered page and the right is an “odd” numbered page. The dotted line represents the where the pages bind. The area shaded blue is a 0.125 inch bleed.
As you can see, for an even numbered page, you have a bleed on the top, bottom and left of the page (the outeredges). There is no bleed on the right where the page binding is.
For odd numbered pages, the bleed is on the top, bottom and right, but not on the left.
So just to remind you that my final page is 10.25 inches high, whereas the final printed height is 10 inches. This means I’ve added a total of 0.25 inches to the height of the final page. That’s made up of a 0.125 inches on the top PLUS 0.125 inches of the bottom.
I haven’t added anything to the width. The size I work on is 7 inches and the final width of the book is also 7 inches.
Why is that? Well that’s because you lose some space where the pages bind together. That page surface is “lost” and we call this the gutter.
Here’s what this approximately looks like (again, don’t expect any sort of accurate scaling on this):

The grey shaded area shows the gutter. That part of the page is lost in the binding of the book.
Now let’s read the CreateSpace paragraph on the subject again, this time taking into account the last last part of the last sentence only:
… submit your PDF .25" higher and .125" wider than your selected trim size to accommodate the full bleed area.
So basically, if we want a 7 inch by 10 inch book, we need our PDF to have dimensions of 7.125 inches by 10.25 inches. This will ensure we have a perfect PDF from a CreateSpace perspective.
We have the correct height. We just need to add 0.125 inches of space for the gutters (on the right for even numbered pages, and to the left for all odd numbered pages).
It’s easy to do in a program like InDesign , go to File > New> Document, just make a new document with the following settings:
I’ve converted my units to millimeters as InDesign seems to use this by default.
Notice that in the Bleed and Slug section that the inside bleed is set to 0 and the rest is 3.175 mm (0.125 inches).

Notice that you need to click on the link icon on the right to allow you to set these separately.
Alternative to using InDesign, you can do this manually for each of your files — i.e. you can just add 0.125 inch space for each of your pages manually. I don’t recommend this option as it can be frustrating, time consuming and, in my opinion, just a waste of time.
If you can’t get hold of InDesign, then check out this list of alternative desktop publishing applications.
All of the above felt like too much work for me — I hate using these applications. So this is where I automate! I write scripts which automatically processes all my Illustrator files and adds the required gutter spaces.
However, I do think this is where I might lose most of you as things do get pretty “techy”, therefore I’ll save this for a different article.
Anyway, just to finish this guide off, remember when you upload your interior file to CreateSpace, select the bleed option:

The set up of books in CreateSpace using the online form is actually really simple once your file is set up correctly.
I hope you found this article useful. If you did, then please consider following me on twitter or tumblr and drop me a message. If I’ve got anything wrong, or if you have a better alternative to improve my process, then please also let me know!
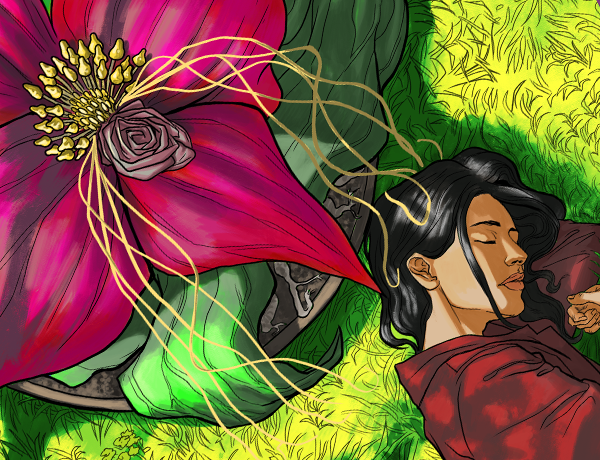
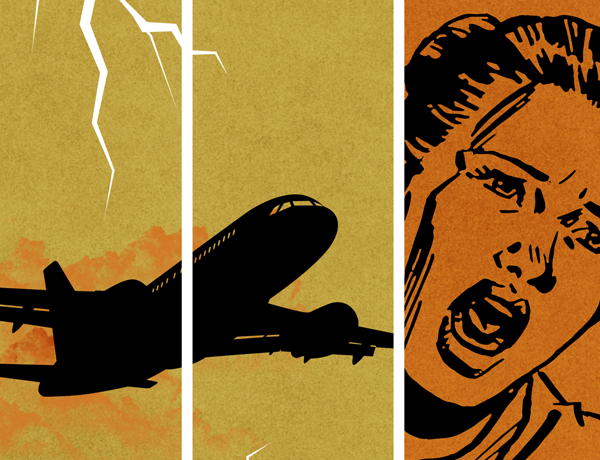
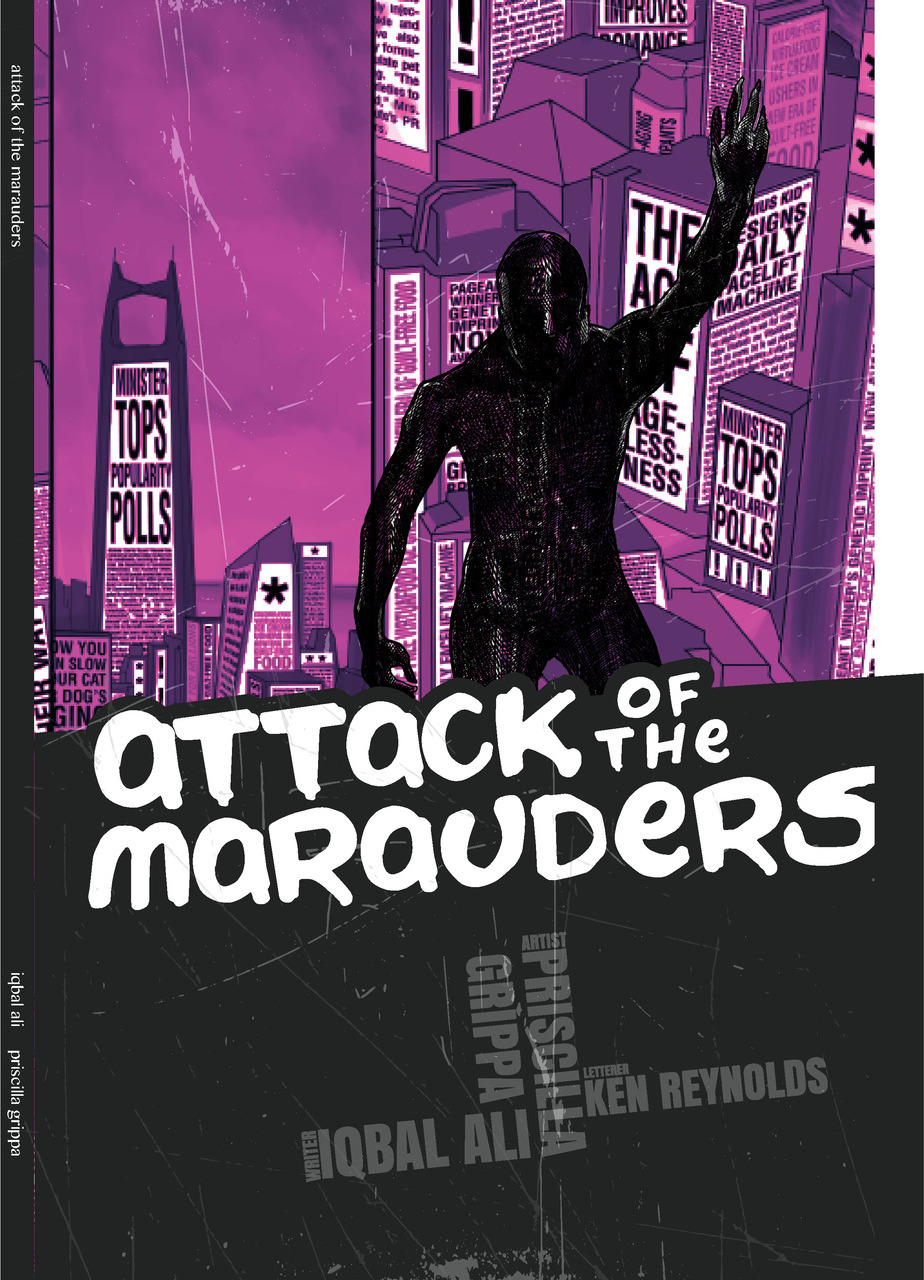
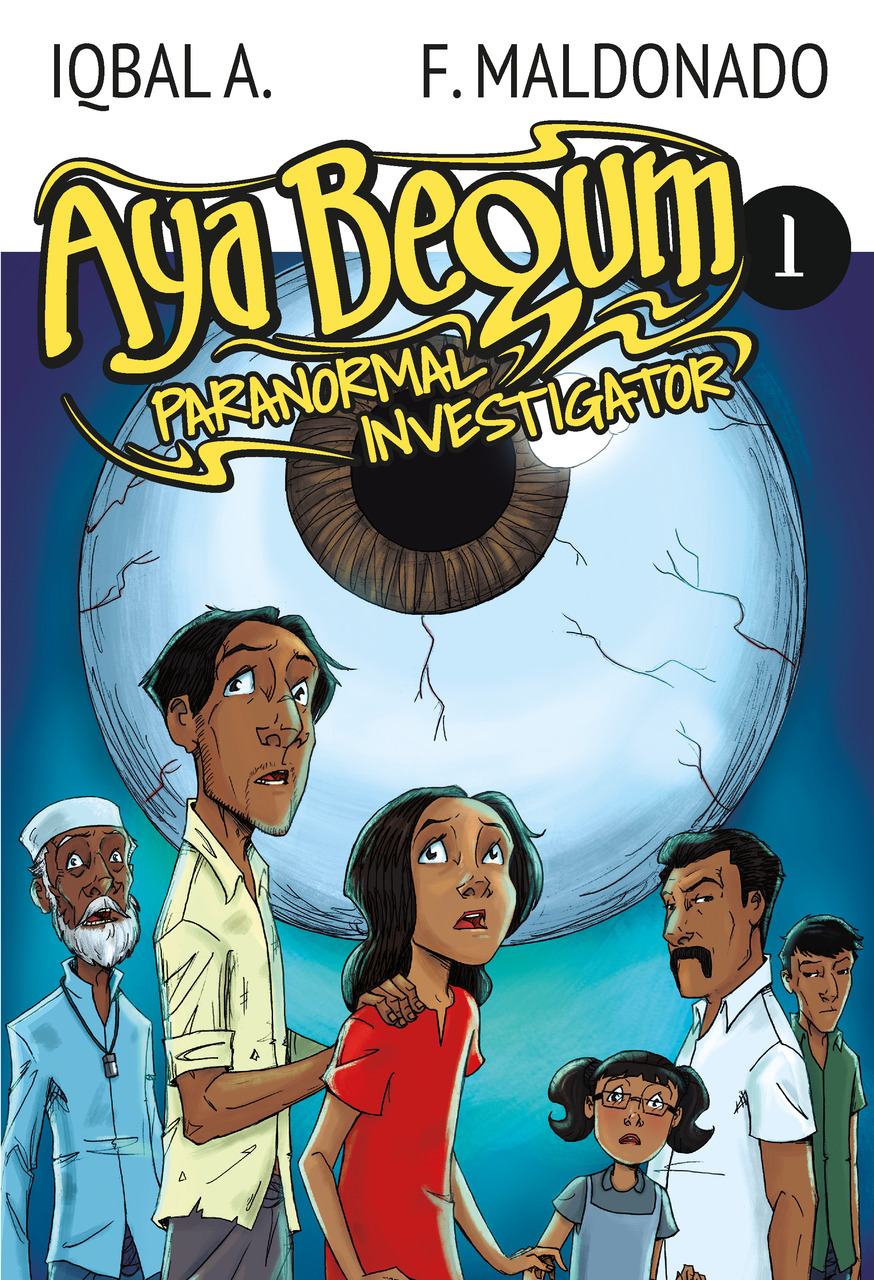
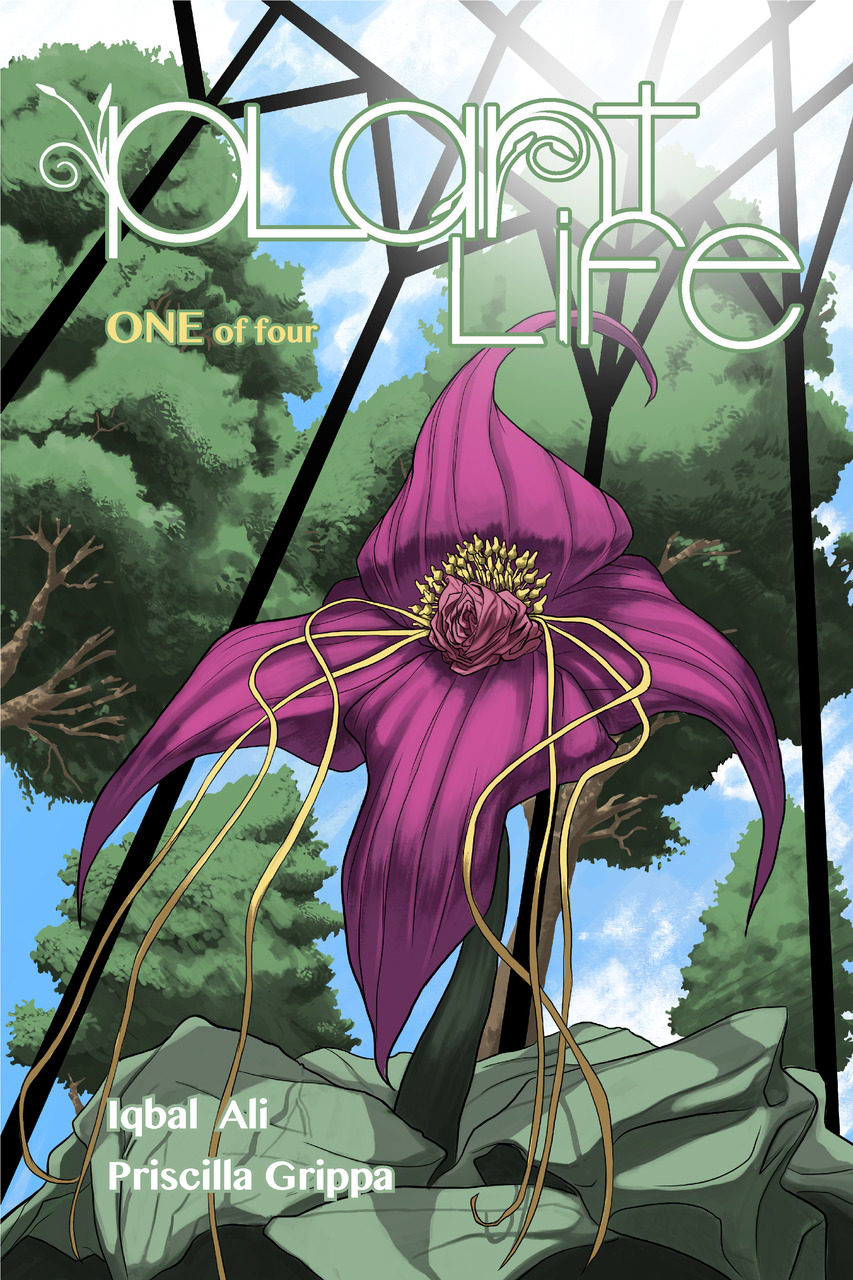
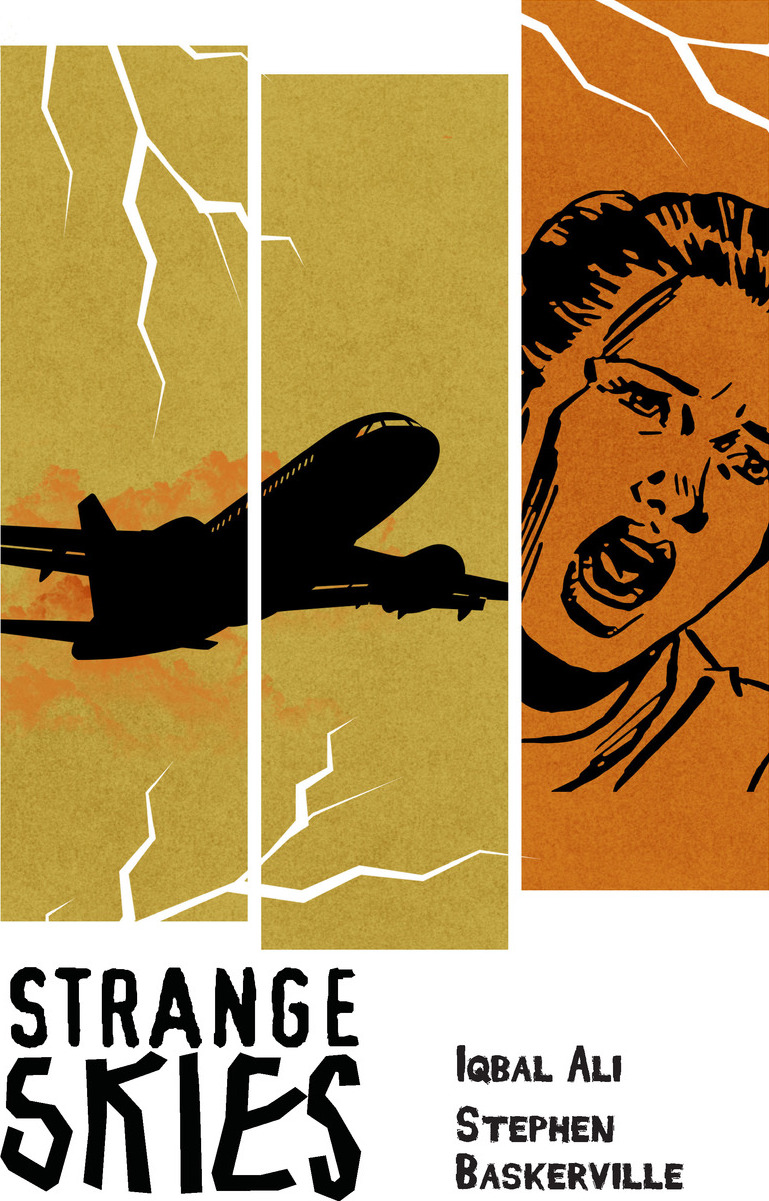
I’m Iqbal Ali, I write comics among other things. You can check out my work on midlfrenzy.com. My Amazon page can be found here.


Comments